Light Modifiers: Chimera’s Dynamic Duo Passes the Test
A photographer attendee recently shared his latest image sequence with me while coaching him about lighting and composition. I instantly noticed shortfalls in the usage of fill light.
The first thing that jumped out was the underexposed images resulting in dull and less than flattering results. That challenge aside, the product was swimwear, and the clarity didn’t show enough to satisfy the client.
My advice was, if you plan to be successful as a photographer, the secret sauce is in the details when photographing swimwear, products or anything. For now, though, let’s talk about lighting.
I have learned a great deal about lighting during my career. Here are my three lighting principals.
1. Exposure and light balance
2. Composition
3. Highlights and shadows
And, that is regardless if it’s natural or strobe lighting situation.
One of the core studies we feature at the STC seminars is the proper use of light with your subjects. Lighting is pretty straightforward. It’s not as complicated as many think. It’s common sense: imitating a real-world situation and then emphasizing it utilizing light and shadow for the desired outcome.
Too many photographers think, “The more lighting equipment, the better the image.” The truth is precisely the opposite. It’s the more wisdom and experience you have that equals success. All you want is what the shot requires and in most cases simplicity prevails.
Clients love seeing lots of lights and equipment on the sets. It makes them feel like they are getting more for their money. I remember a photo set for “Inside Edition” at Playboy Studio West. As soon their TV crew left, we stripped the set to the bare minimum and left only the required lights.
I cannot blame anyone, because in my past life with Playboy’s multi-light circus, we built the most lavish sets and created lighting situations with enough strobes that could light up a small airport runway! This legacy will live on for generations to come. The older generation admired those pictorials for their artistry and beauty. But times have changed and so should you if you wish the future to smile upon you.
Today, my travel lighting kit only has the very basics, unless the job requires otherwise which sometimes does happen. Style and trend dictate today’s lighting scenarios. That’s unless you are just shooting for yourself, instead of for what the industry demands.
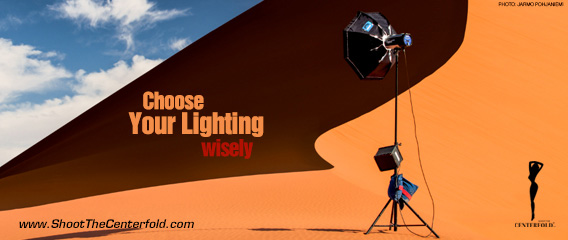
Two of the essential light modifiers that have traveled with me over a half million miles in the last 12 months and keep on delivering is Chimera’s collapsible beauty-dish and their 4×6 Super-Pro softbox. The beauty dish gives me the beautiful fill light I need, while the 4×6 softbox wraps nicely around the entire model, with smooth results, that I often mix with the daylight in the background.
 Chimera’s 4×6 Super Plus Pro’s effective lighting area wraps nicely around the model
Photographers question my lighting choices like, why I bring a Chimera 4×6 Pro to a beach shoot. Wouldn’t it just be easier to bring something smaller and call it a day? Most questions as such are based on the “Easy way out” philosophy, because having a large light modifier on the beach is an inconvenience for most photographers. I choose my lighting modifiers based on desired results instead. To me, its all about the look and the feel of the image.
Here you can see how we used Chimera’s collapsible beauty dish at STC Asia in Flores, Indonesia. It’s an excellent light source for sunny situations to even out unwanted shadows. And, you can adjust the harshness of the light by removing the internal diffuser and the light deflector that covers the strobe head.
 Chimera’s collapsible beauty dish eliminates out the unwanted shadows
Depending on the look and feel, I choose the right tool for the desired outcome. There are no real rules of what to use; there are only those of personal preference. My choices are based on experience and the durability of the product.
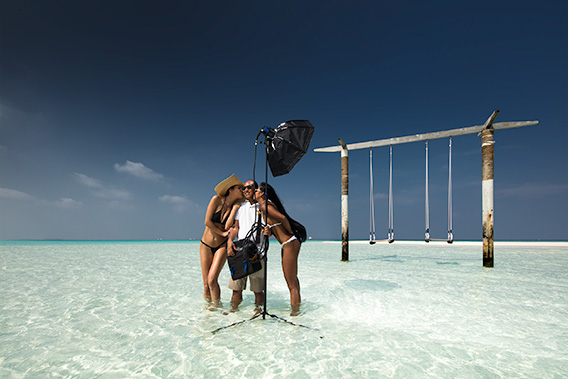 Chimera’s collapsible beauty dish provides quality light in the Maldives
 Chimera’s collapsible beauty dish in action at STC Asia
Here are a few essential items in my travel kit
1. Chimera’s Collapsible beauty dish
2. Chimera’s 4×6 Super Pro softbox
3. Hensel Porty kit with EH Pro Mini 1200 Flash Head and Ringlight
I would also advise everyone to do their homework about light modifiers before considering a purchase, and here’s why!
When analyzing the dynamic light quality of the modifier from 2-3 feet away from your model either on camera left or right, you will quickly learn that not all light modifiers deliver the same quality and controllable light coverage area. Some will create a hot-spot (unevenness), at close range or result in a hollow lighting outcome from the distance of 5-6 feet away from your subject.
“One of the critical mentions from editors is; “That looks ashy and not flattering for the model.”Here is where the light mass and softbox performance becomes critical for pros and should be for everyone.
Nobody with an experienced eye wants anything but perfection, especially when photographing glam models where beautiful skin tonalities rule or fashion where the product needs to speak for itself. One of the critical mentions from editors is; “That looks ashy and not flattering to the model.”
You don’t want to hear this from an editor because as a photographer you are judged on your abilities and skills”
Not all light modifiers are created equal. Believe me! Just because you got a deal, it may not be so. You may face challenges and not even be aware. How do you find out? Do a simple test with your large modifier and see the results for yourself.
By the way, this is where a good light meter comes in handy! You most likely don’t even own one. But trust me, you will when you make it to the high ranks of studio photography.
First: Do a little test with your broad light modifier
Place your model six feet away from your light source. Take your shot, analyze the light falloff and the light spillage. The light should remain equal in exposure throughout the whole height of your model, assuming that your light source covers your entire length of your model when equally placed in the distance.
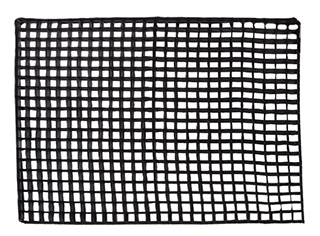
If it’s not, you may face a challenge in critical lighting situations. This is what I call uneven light fall-off. Also, you should avoid the light spillage. Look for light modifiers which offer even light and extended lip-edges to minimize the light spread. Plus, you can even get a soft-box grid, now available with a “pop tension frame.” It’s much better, with a quick setup and easy to use.
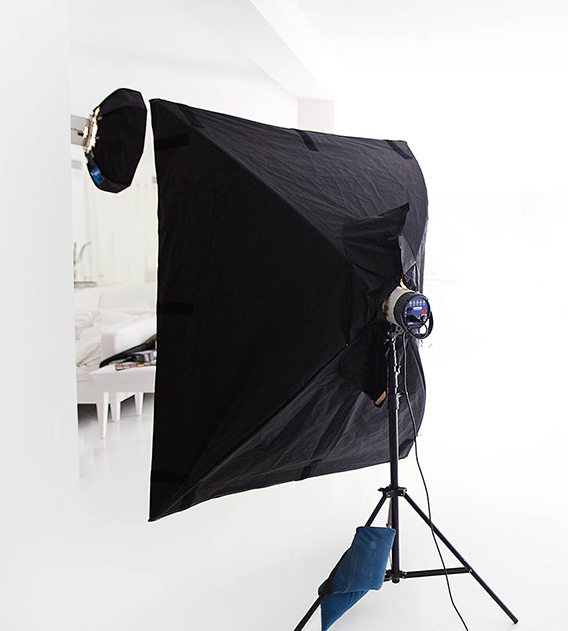 Chimera’s 4×6 Super Plus Pro light modifier
Second: Test your softbox for near-field results
Place your large softbox close as possible to your model on the left or right side, depending on your desired look. The closeness should give you a punchy light result, and it’s the ultimate light test for your softbox.
This technique is not widely used due to a lack of lighting knowledge by photographers. Here is where a well-manufactured light modifier will prevail and cheap ones will not! If your findings result in uneven light or an unwanted hotspot on your model at close range, instead of well-distributed light, this is usually caused because the light baffle inside of your softbox does not distribute the light evenly throughout the light modifier. And, in most cases with budget modifiers, it does not.
The shape and internal distance of the softbox between its components are not a specialty of the budget manufacturers since they are not experienced photographers and are just manufacturing houses, mostly in China, who care less about your satisfaction and more about their future profits. And, this is where you find out that your budget “modifier” has met its match.
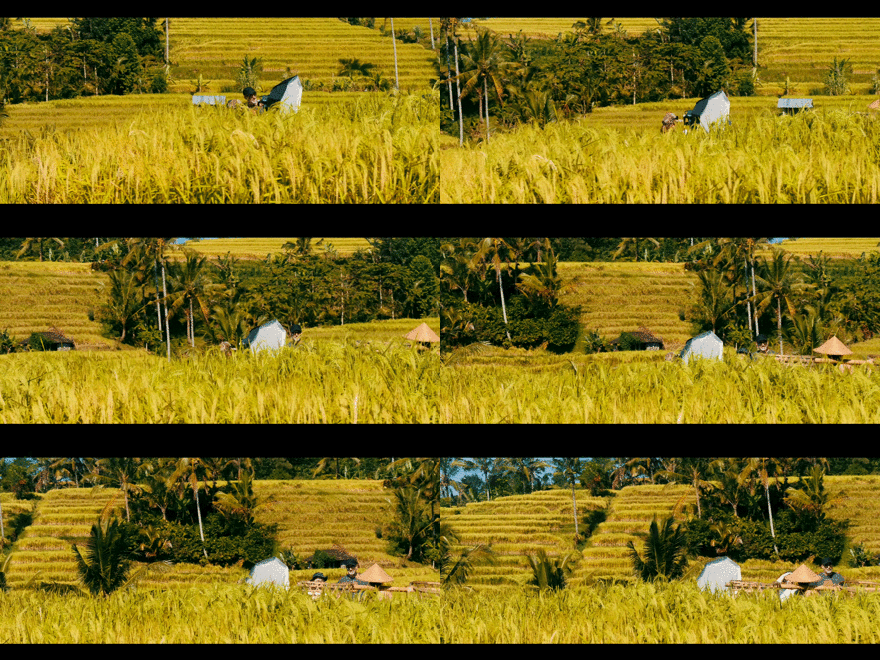 Lighting demonstration with Ales Bravnicar of Chimera’s collapsible beauty dish – Bali, Indonesia
STC is in the business of helping you to become a better photographer. Through our workshops, articles, and guides we hope to not only inform you but to open your eyes to new methods and quality products and lighting techniques.
For more detailed information about light falloff and active area and technique, see our “Fashion is My Passion Lighting Guide” or join us for STC Miami on April 21-22, 2018.
© 2010-2018 Copyright ShootTheCenterfold.com. All rights reserved.


